
STEP BY STEP INSTRUCTIONS (download the full user manual here)
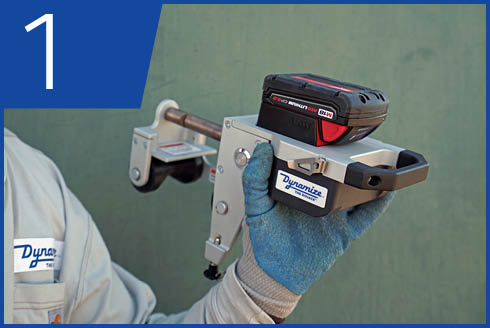
Step 1
Slide and lock M18™ battery in place
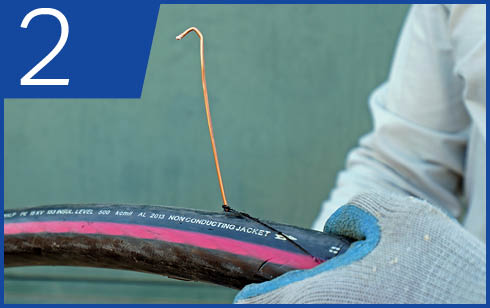
Step 2
Expose 5 inches of a single concentric neutral wire
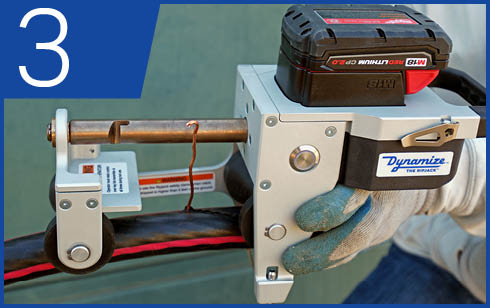
Step 3
Position THE RIPJACK™ with its rollers on the cable and the wire between the rollers
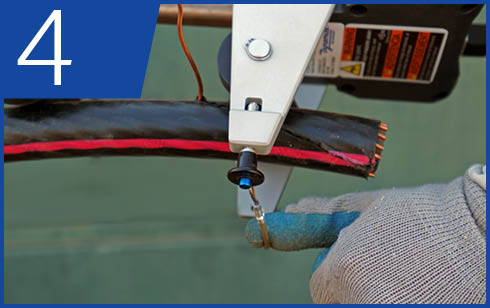
Step 4
Loop THE RIPJACK™ safety strap around the cable and fasten
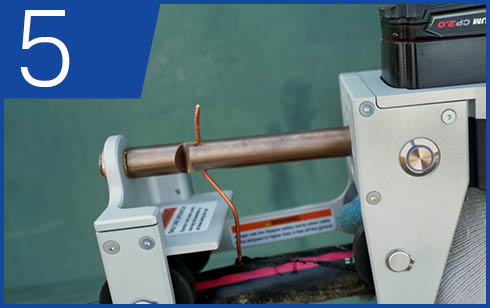
Step 5
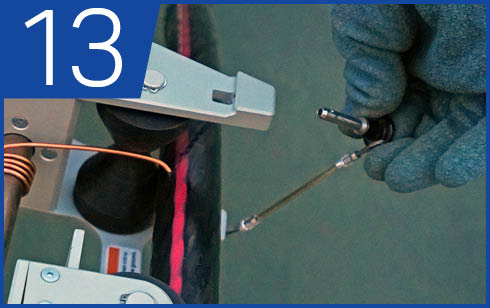
Insert the wire into the mandrel opening. Make sure the wire extends less than 1 inch past the opening.
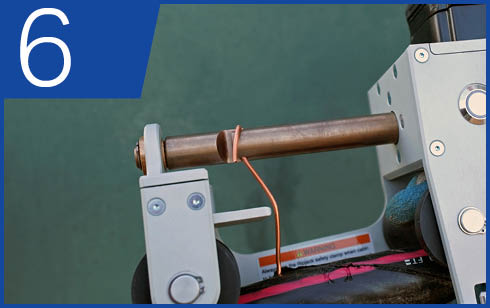
Step 6
Bend the wire clockwise around the mandrel opening to lock. Keep the wire tip in front of the remaining wire
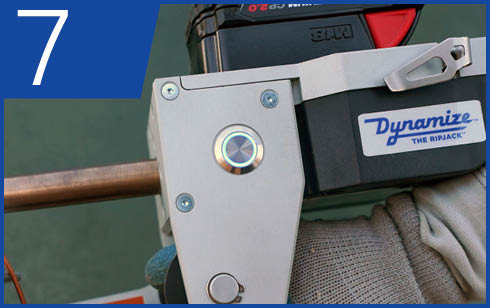
Step 7
Push THE RIPJACK™ on button so the LED light comes on
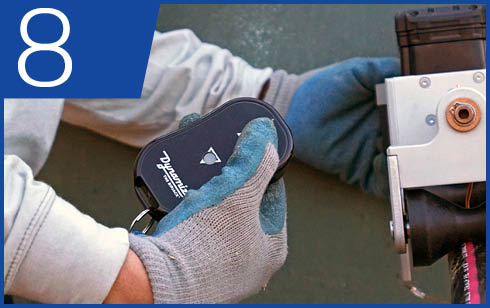
Step 8
Press the up arrow on the key fob transmitter to engage THE RIPJACK™
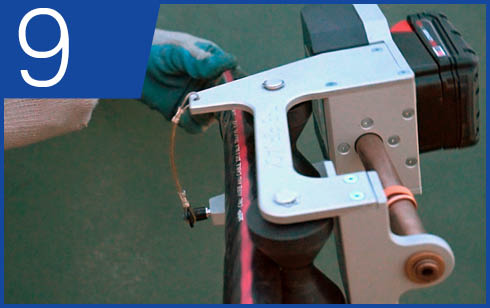
Step 9
Release the THE RIPJACK™ handle as THE RIPJACK™ is secured to the cable via 1-2 wire wraps around the mandrel.
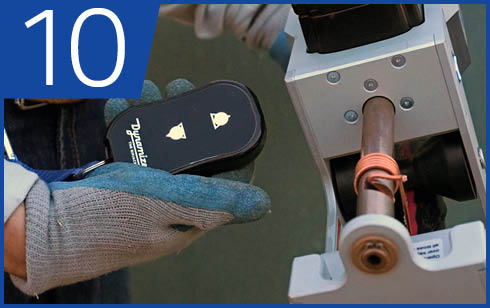
Step 10
Relase the up arrow to stop THE RIPJACK™.
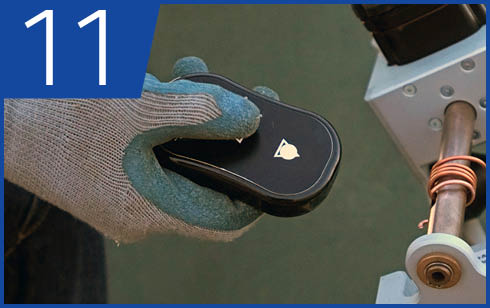
Step 11
Press the down arrow for 1-2 seconds to release tendsion on the wire.
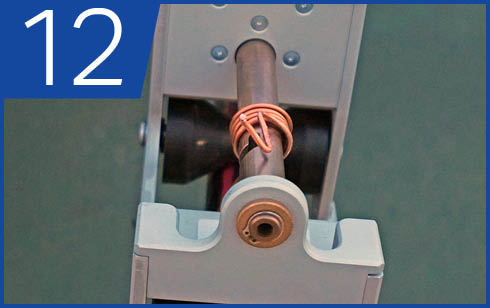
Step 12
Release the wire by pushing the wire tip counterclockwise out of mandrel opening. Slide wire away from opening.
Step 13
Push the blue button on the safety strap to release THE RIPJACK™ from the cable.
Step 14
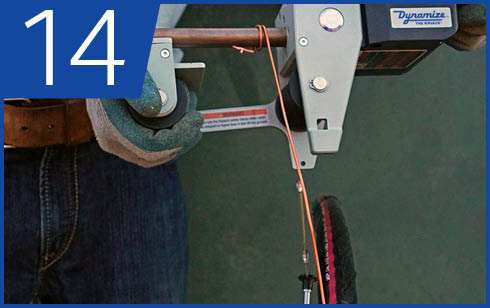
Holding THE RIPJACK™ parallel to the cable and wire clear of the front roller, pull THE RIPJACK™ away from the cable.

Step 15
Hold the wire securely with one hand while releasing it from the mandrel, then secure it in your workspace.
Step 16
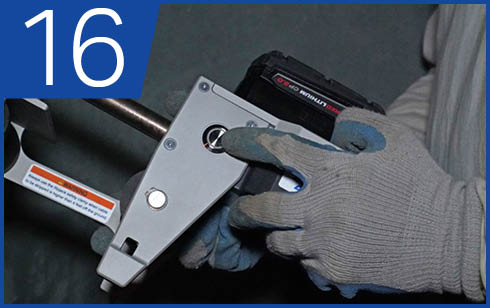
Press THE RIPJACK™ off button or wait 2 minutes for auto shut-off.
KEY FOB TRANSMITTER PAIRING
Note: Each RIPJACK™ can only pair with one key fob transmitter at a time!
See operator’s manual for more info.
- Push THE RIPJACK™ on button so the LED light comes on.
- Hold THE RIPJACK™ on button 5 seconds till it flashes slowly.
- Press either button on your chosen key fob transmitter.
- Pairing is complete after THE RIPJACK™ on button blinks on and off rapidly, then returns to solid blue.
USE IN ELEVATED SITUATIONS (Over 4ft)
Perform Steps A & B below after Step 8 from the front page, Step C after Step 10, and Step D after Step 15
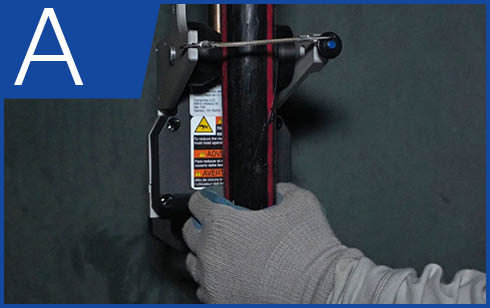
Step A
Keep one hand either on the handle of THE RIPJACK™ or at the base of the cable until you have secured THE RIPJACK™ safety clamp.
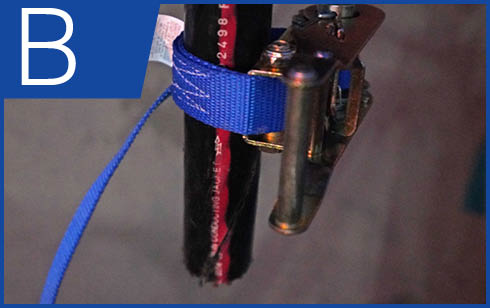
Step B
Once 6 inches of cable is exposed behind THE RIPJACK™, install and secure the safety clamp at least 5 inches from the bottom of the cable.
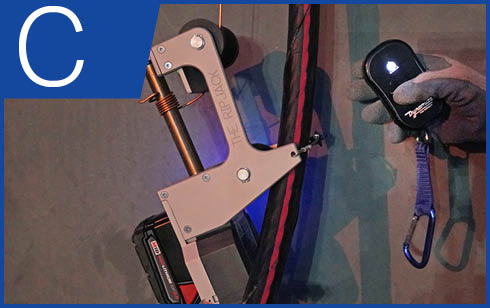
Step C
Push the down arrow on your key fob transmitter until THE RIPJACK™ descends on you.
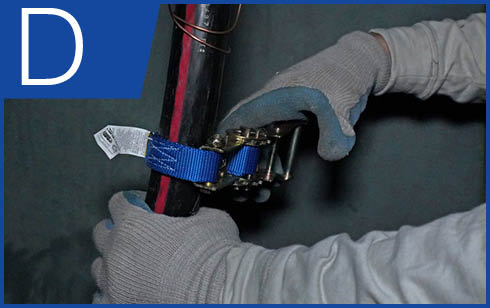
Step D
Pull the safety clamp release tab to remove it from the bottom of the cable.
WHAT PEOPLE ARE SAYING
“Great product that saves time and your body. I would highly recommend.”
– Lincoln Electric System
Have Questions? Contact Us!
